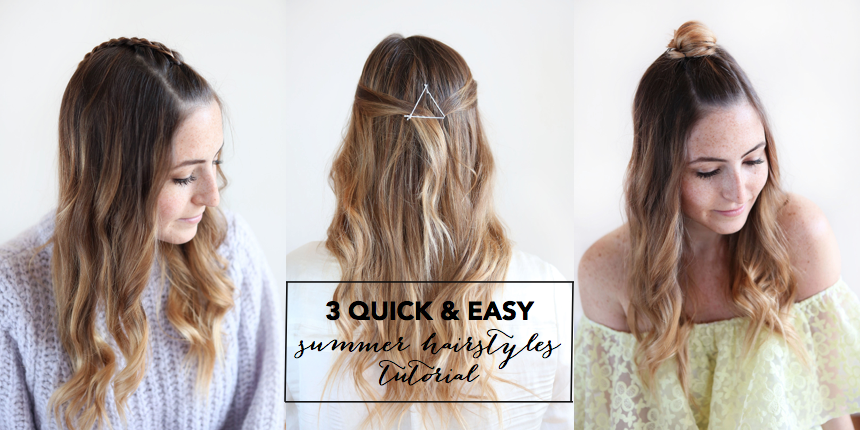
Before we begin, let’s get something clear. We here at PLSR are by no means hair experts. In fact, most days we have a constant struggle between attempting to do a cool hairstyle we found on Instagram & then resorting to a messy bun because, well, at that point our hair is just a straight up mess. So with the warmer temperatures finally around us, we wanted to share three quick & super easy hairstyles that you can rock all summer long without having to pay the big bucks to get it done (or struggle majorly to get). Trust us, if we can do them, so can you!
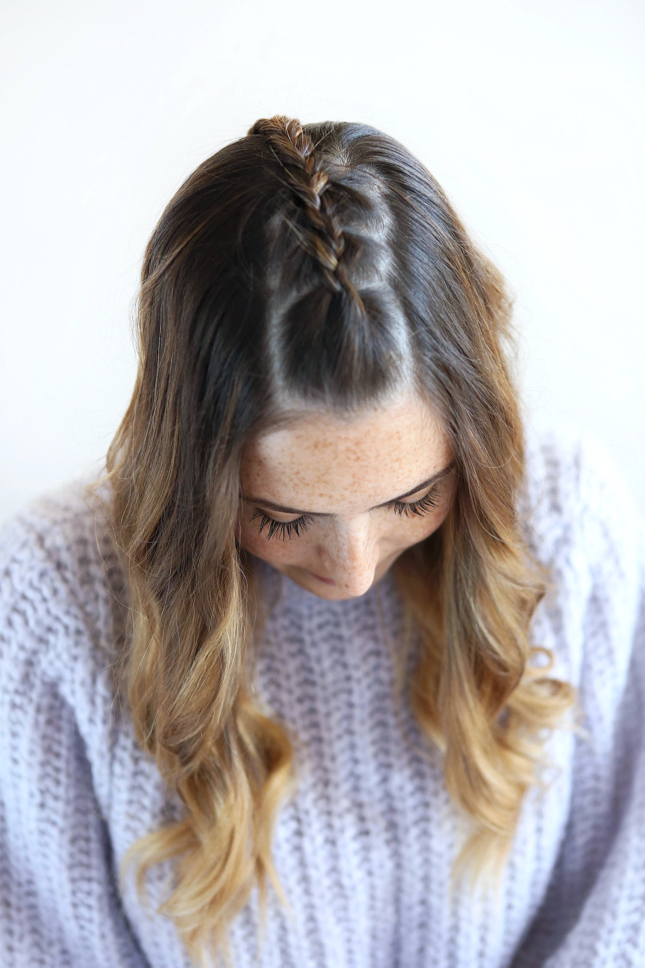
Our first super simple hairstyle is the Mohawk French Braid. We’ll be honest, we didn’t even know how to french braid until yesterday & we probably still can’t do an entire french braid but this one we’re loving. Since it only requires you to braid a small portion on the top of your head which is easily accessible, it makes this tutorial simple. Here’s how to get this look:
Mohawk Braid Tutorial
- Start by creating two parts on the left & right side of your head. Part each side going back until your skull begins to curve downwards (the crown of your head). Clip this section out of the way.
- Tie back hair not used in sectioned off part in a low, tight bun. You won’t be using this hair so just try to get it out of the way for now.
- Let down the top portion of your hair that was clipped back. Let hair fall to a center part. Moving perpendicular (horizontal) to your part, section off roughly 1 inch of hair in front. Begin braiding this section normally (cross the side strands over the middle alternating sides) until you reach the loose hair on the sides.
- Pick up a small section of hair on the right side & incorporate it with the rightmost strand. Cross that strand over the middle & repeat entire step 4 with left side. Continue until you run out of loose hair to incorporate. Continue braiding the rest of your hair (or amount desired) regularly (cross the side strands over the middle alternating sides) & secure end with a clear elastic. Release hair in low bun.
optional: if looking for a looser braid look, gently pull secured elastic at the end of braid down a 1/2 inch. Starting at the top of your braid, gently pull the outer pieces apart & out.
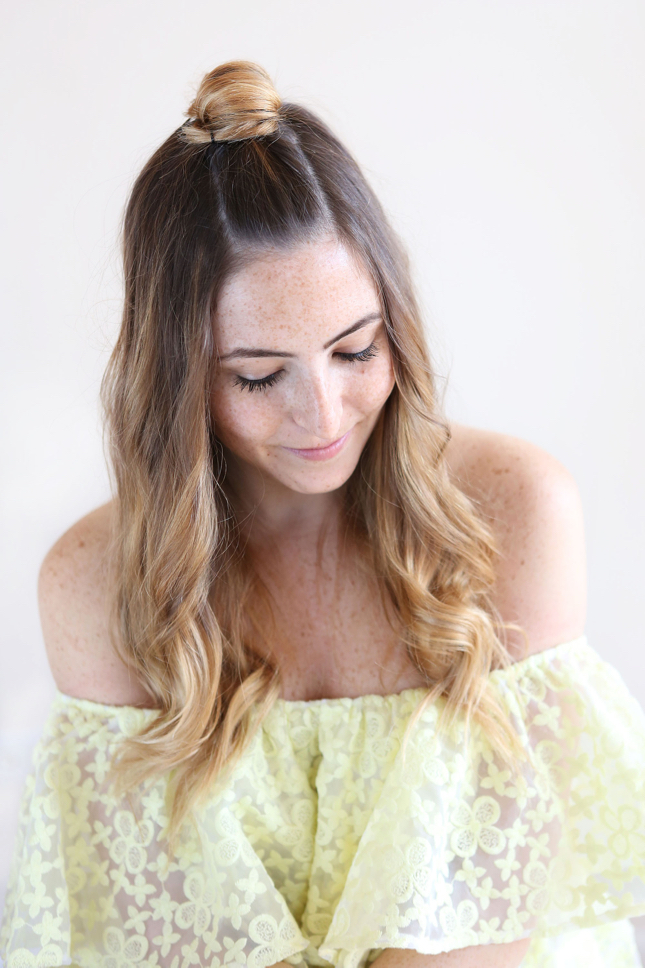
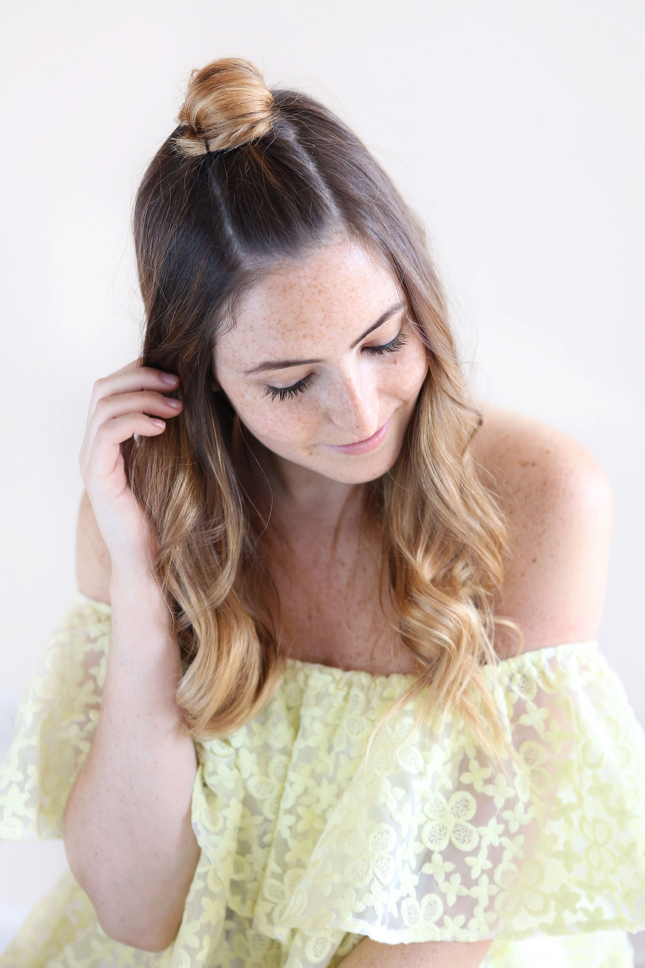
Next up is the top knot hair tutorial. You may be wondering why a tutorial is even necessary for this hairstyle & to be totally honest, once you know how to do this, you’ll never look at a tutorial again. For the meantime, we have some tips & tricks to perfect this simple hairstyle. We love this look for a day at the beach to get the hair out of your face & it transitions perfectly for the nighttime. It’s effortless & can be worn with curly, straight, wavy, truly any textured hair. Here ya have it:
Half-Up Top Knot Tutorial
- Start by creating two parts on the left & right side of your head. Part each side going back until your skull begins to curve downwards (the crown of your head). Clip this section out of the way.
- Tie back hair not used in sectioned off part in a low, tight bun. You won’t be using this hair so just try to get it out of the way for now.
- Let down the top portion of your hair that was clipped back. Brush that hair you just let down backwards. Secure it in a tight ponytail with a small, clear elastic at the crown of your head. If your hair is thin or you’re looking for extra volume, use a fine tooth comb to lightly tease your hair.
- Twist teased hair in a loose spiral & begin wrapping it around elastic into a loose “knot” or messy bun. Secure with bobby pins to keep the shape of your top knot.

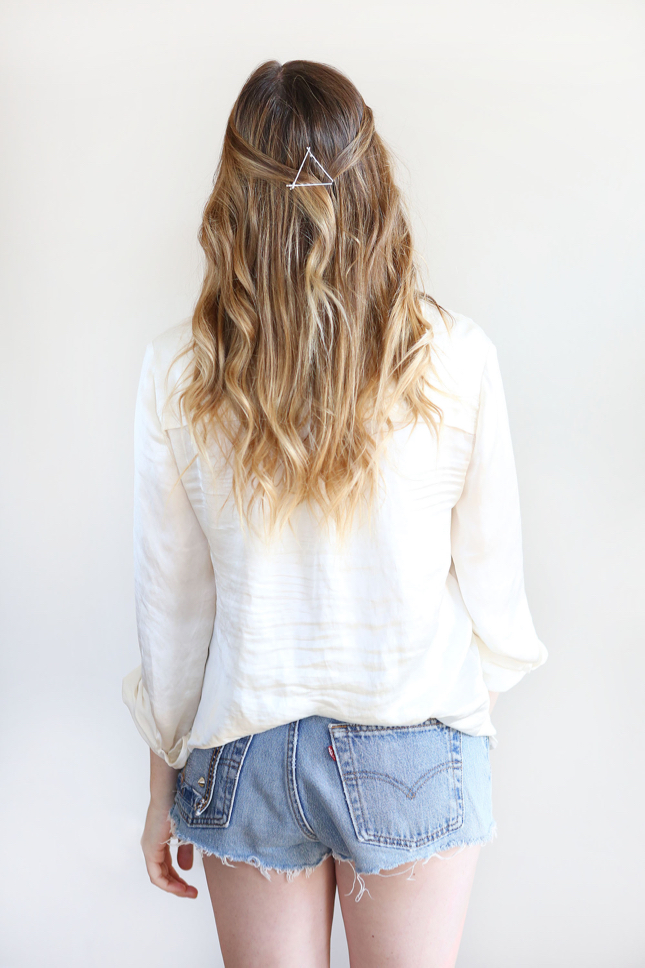
Our third & final quick summer hairstyle is the easiest of them all. We prefer using white bobby pins for a contrasted look against the darker hair but if your hair is a different color feel free to adjust accordingly. Or feel free to use some fun bobby pins such as these & these for a fresh look. Last but certainly not least:
Triangle Bobby Pin Tutorial
- Take one small section of hair from the front of the left side of your face & pull it towards the back. Secure hair with one bobby pin at a downward angle.
- Take one small section of hair from the front of your right side of your face & pull it towards the back. Secure hair with one bobby pin at an upward angle.
- Secure the hair & complete the look with one triangle bobby pin going straight across the bottom, connecting the two top ones.


The cutest forever & ever!! <3
You’re the sweetest, Sally!! Thanks so much! xo
So cute and pretty! On the photos it looks quite simple but I’m not sure if could do it by myself!
https://onthepurplemoon.wordpress.com
We put really simple step by step instructions for each so you can totally do them!! Trust us if we can, you can! xo
I love how these work it’s all different lengths of hair!
Heidi || Wishes & Reality
Completely–different textures too!! Can’t wait to see you style them! xo