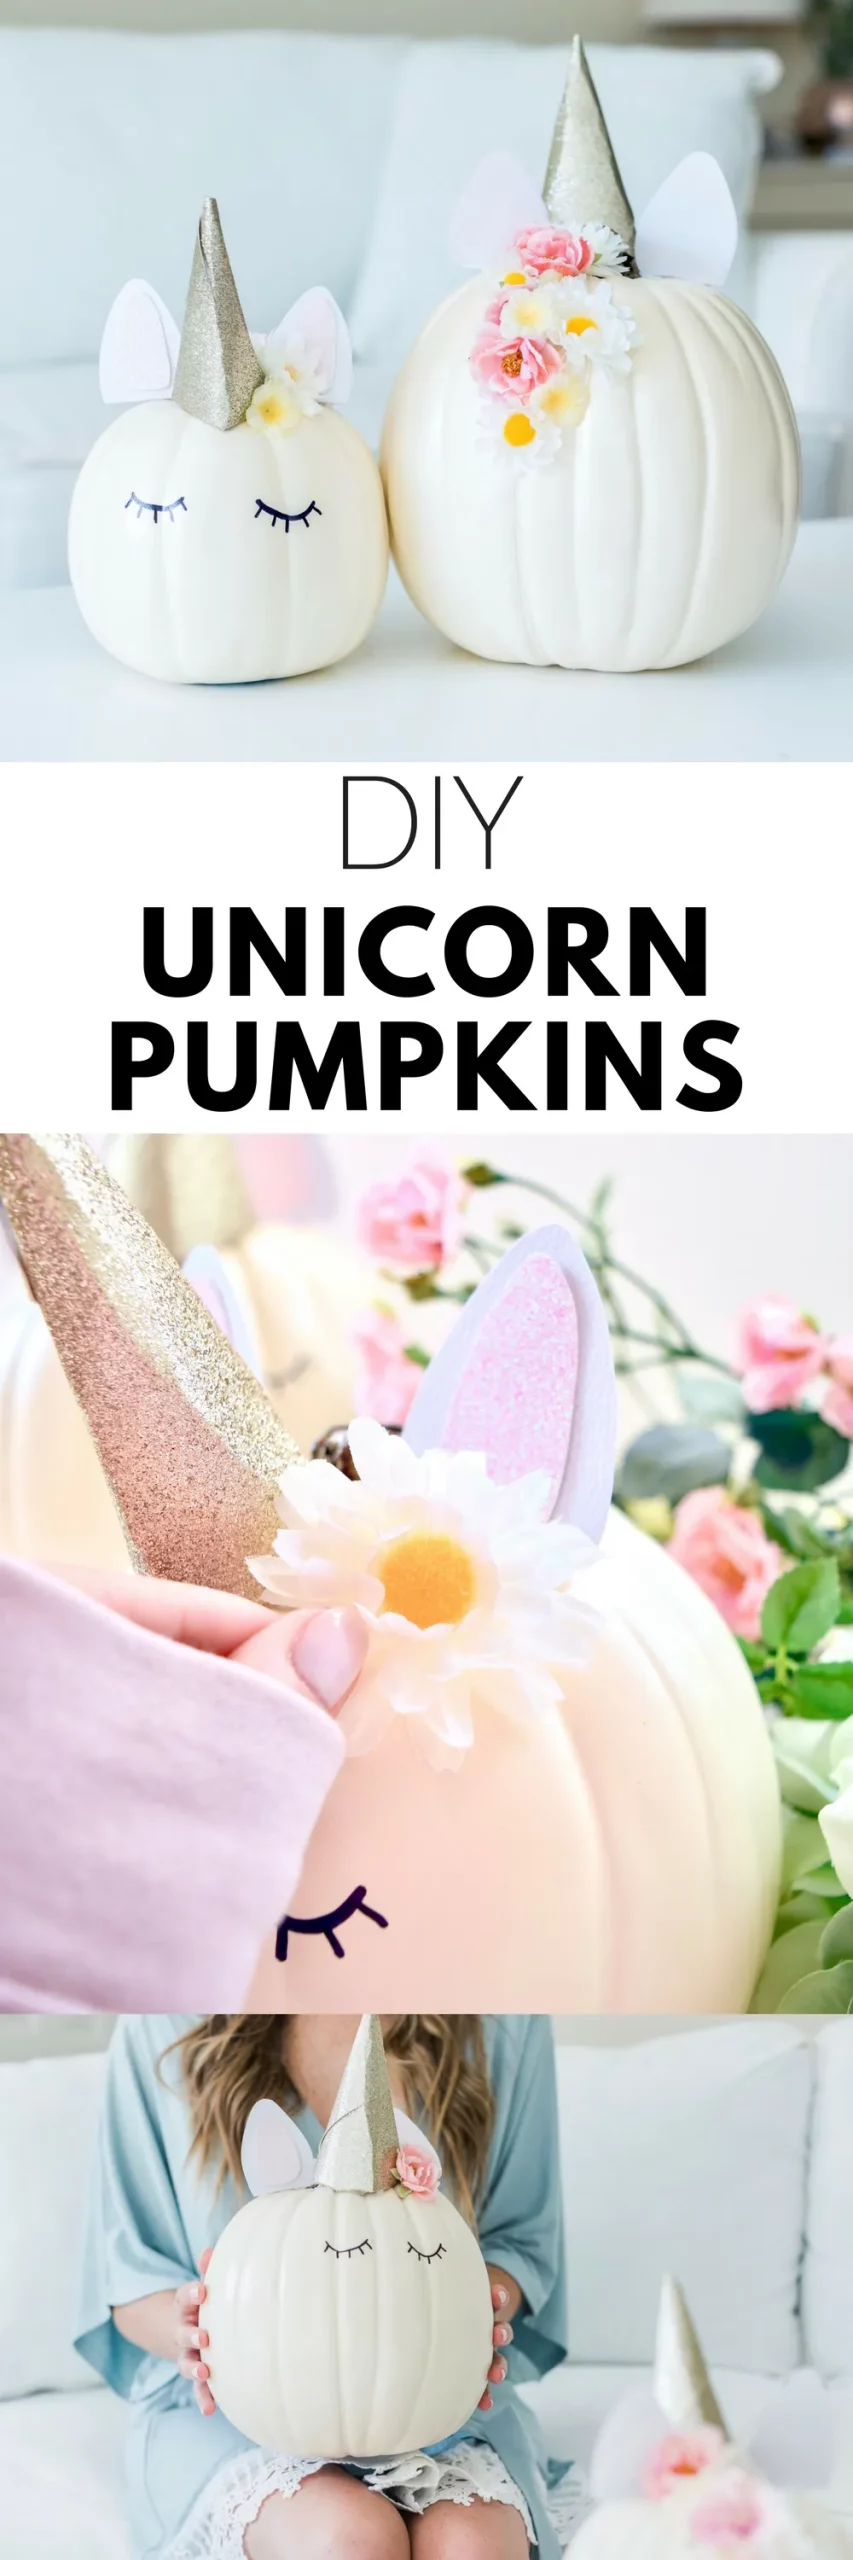
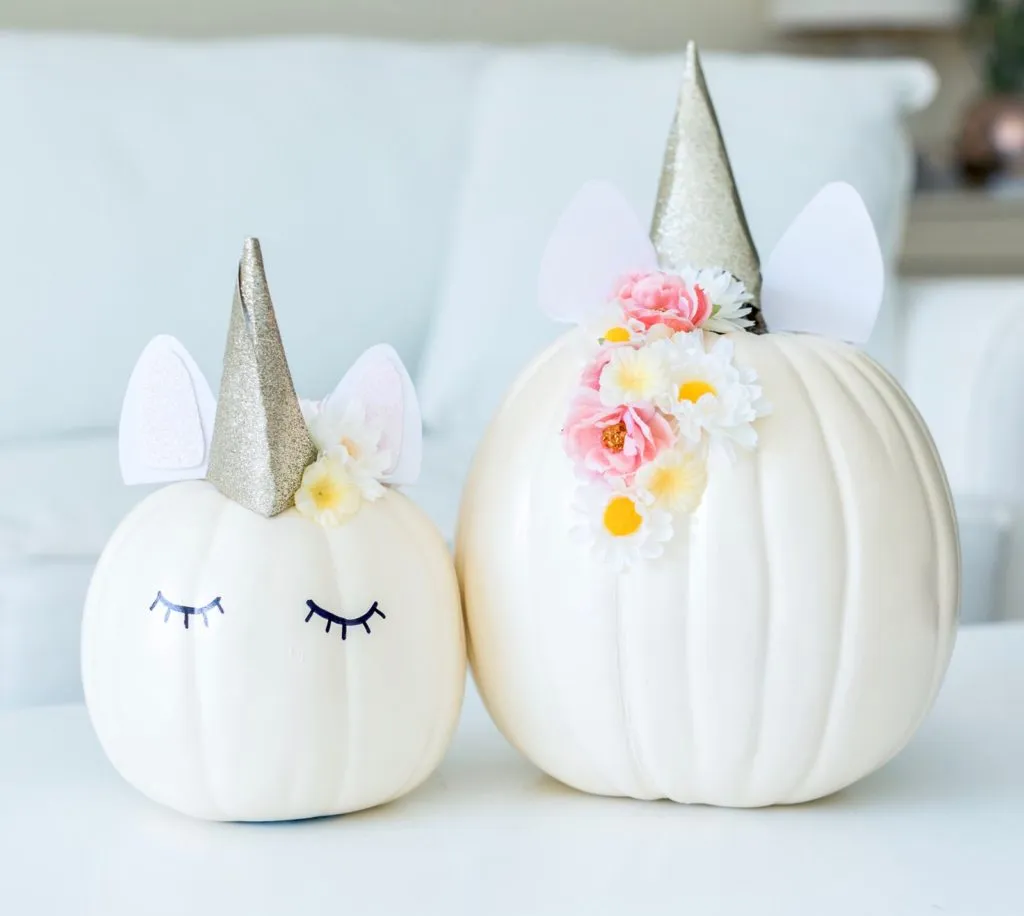
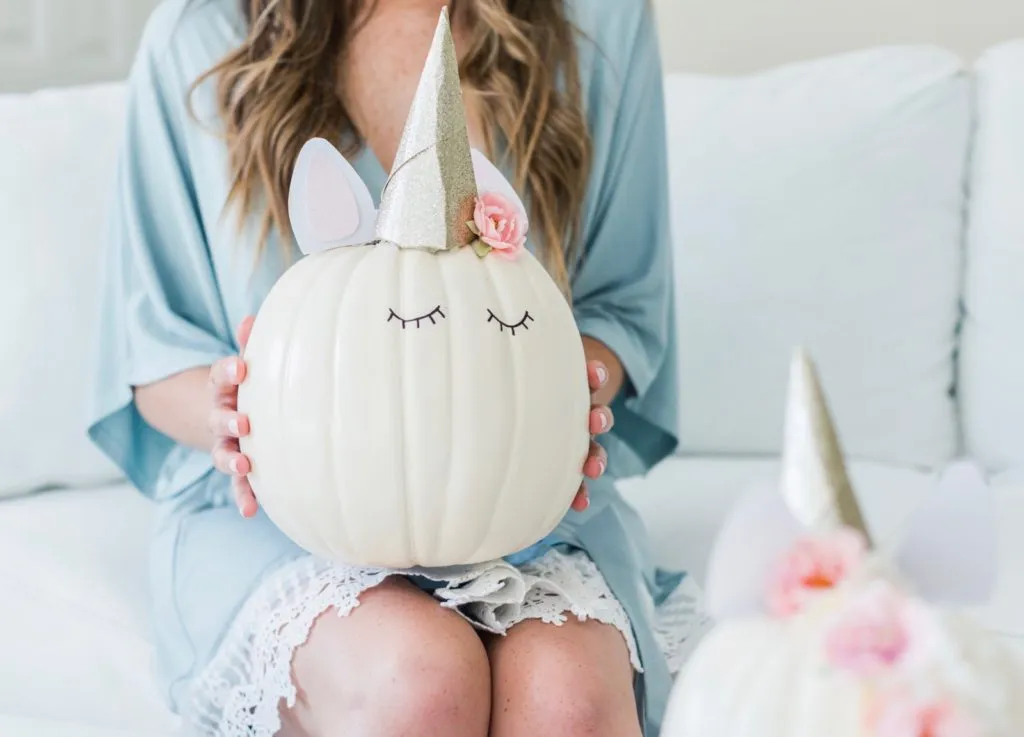
If I’m being honest here, while I love Halloween itself, the color combo (orange + black) that comes along with it doesn’t really impress me. Perhaps that’s because those were my school colors growing up so I spent Friday after Friday wearing orange for “spirit day” or perhaps it’s because I’m pastel addicted, regardless I knew I had to find a way to make Halloween, pretty 😉 I’m absolutely obsessed with how these DIY Unicorn Pumpkins came out! Plus, they seriously could not have been easier to make. Their stunning floral manes mixed with adorable round pumpkin “faces” make for the cutest Halloween decor, EVER!
WHAT YOU’LL NEED:
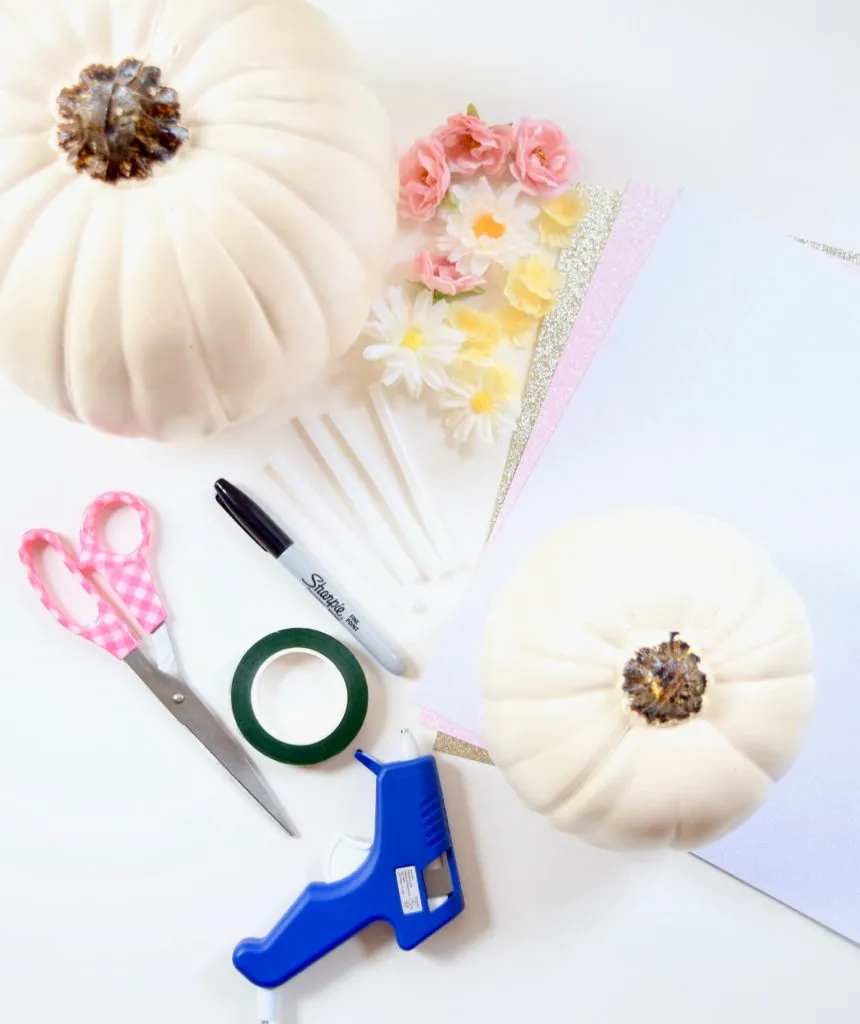
2 sheets 12×12 gold paper | 1 12×12 piece of pink paper | 1 12×12 piece of white paper | scissors | hot glue gun & sticks for the gun | 2 white pumpkins (real or fake) | black Sharpie | flowers (real or fake) | floral tape
Step 1:
Cut out the backing of the ears with white paper. They should be pointy up top, rounded on the sides, & flat on the bottom (roughly 2 inches tall). Cut 2 slightly smaller yet exact shaped ears out of the pink paper. Carefully glue the pink paper on top of the white paper leaving a 1/4 inch border of white. Fold roughly 1/4 inch of the bottom of the ears backwards so they can somewhat stand. Carefully glue the bottom of the ears to the top of the pumpkin (I placed mine about 1 inch from the pumpkin stem on either side).
Step 2:
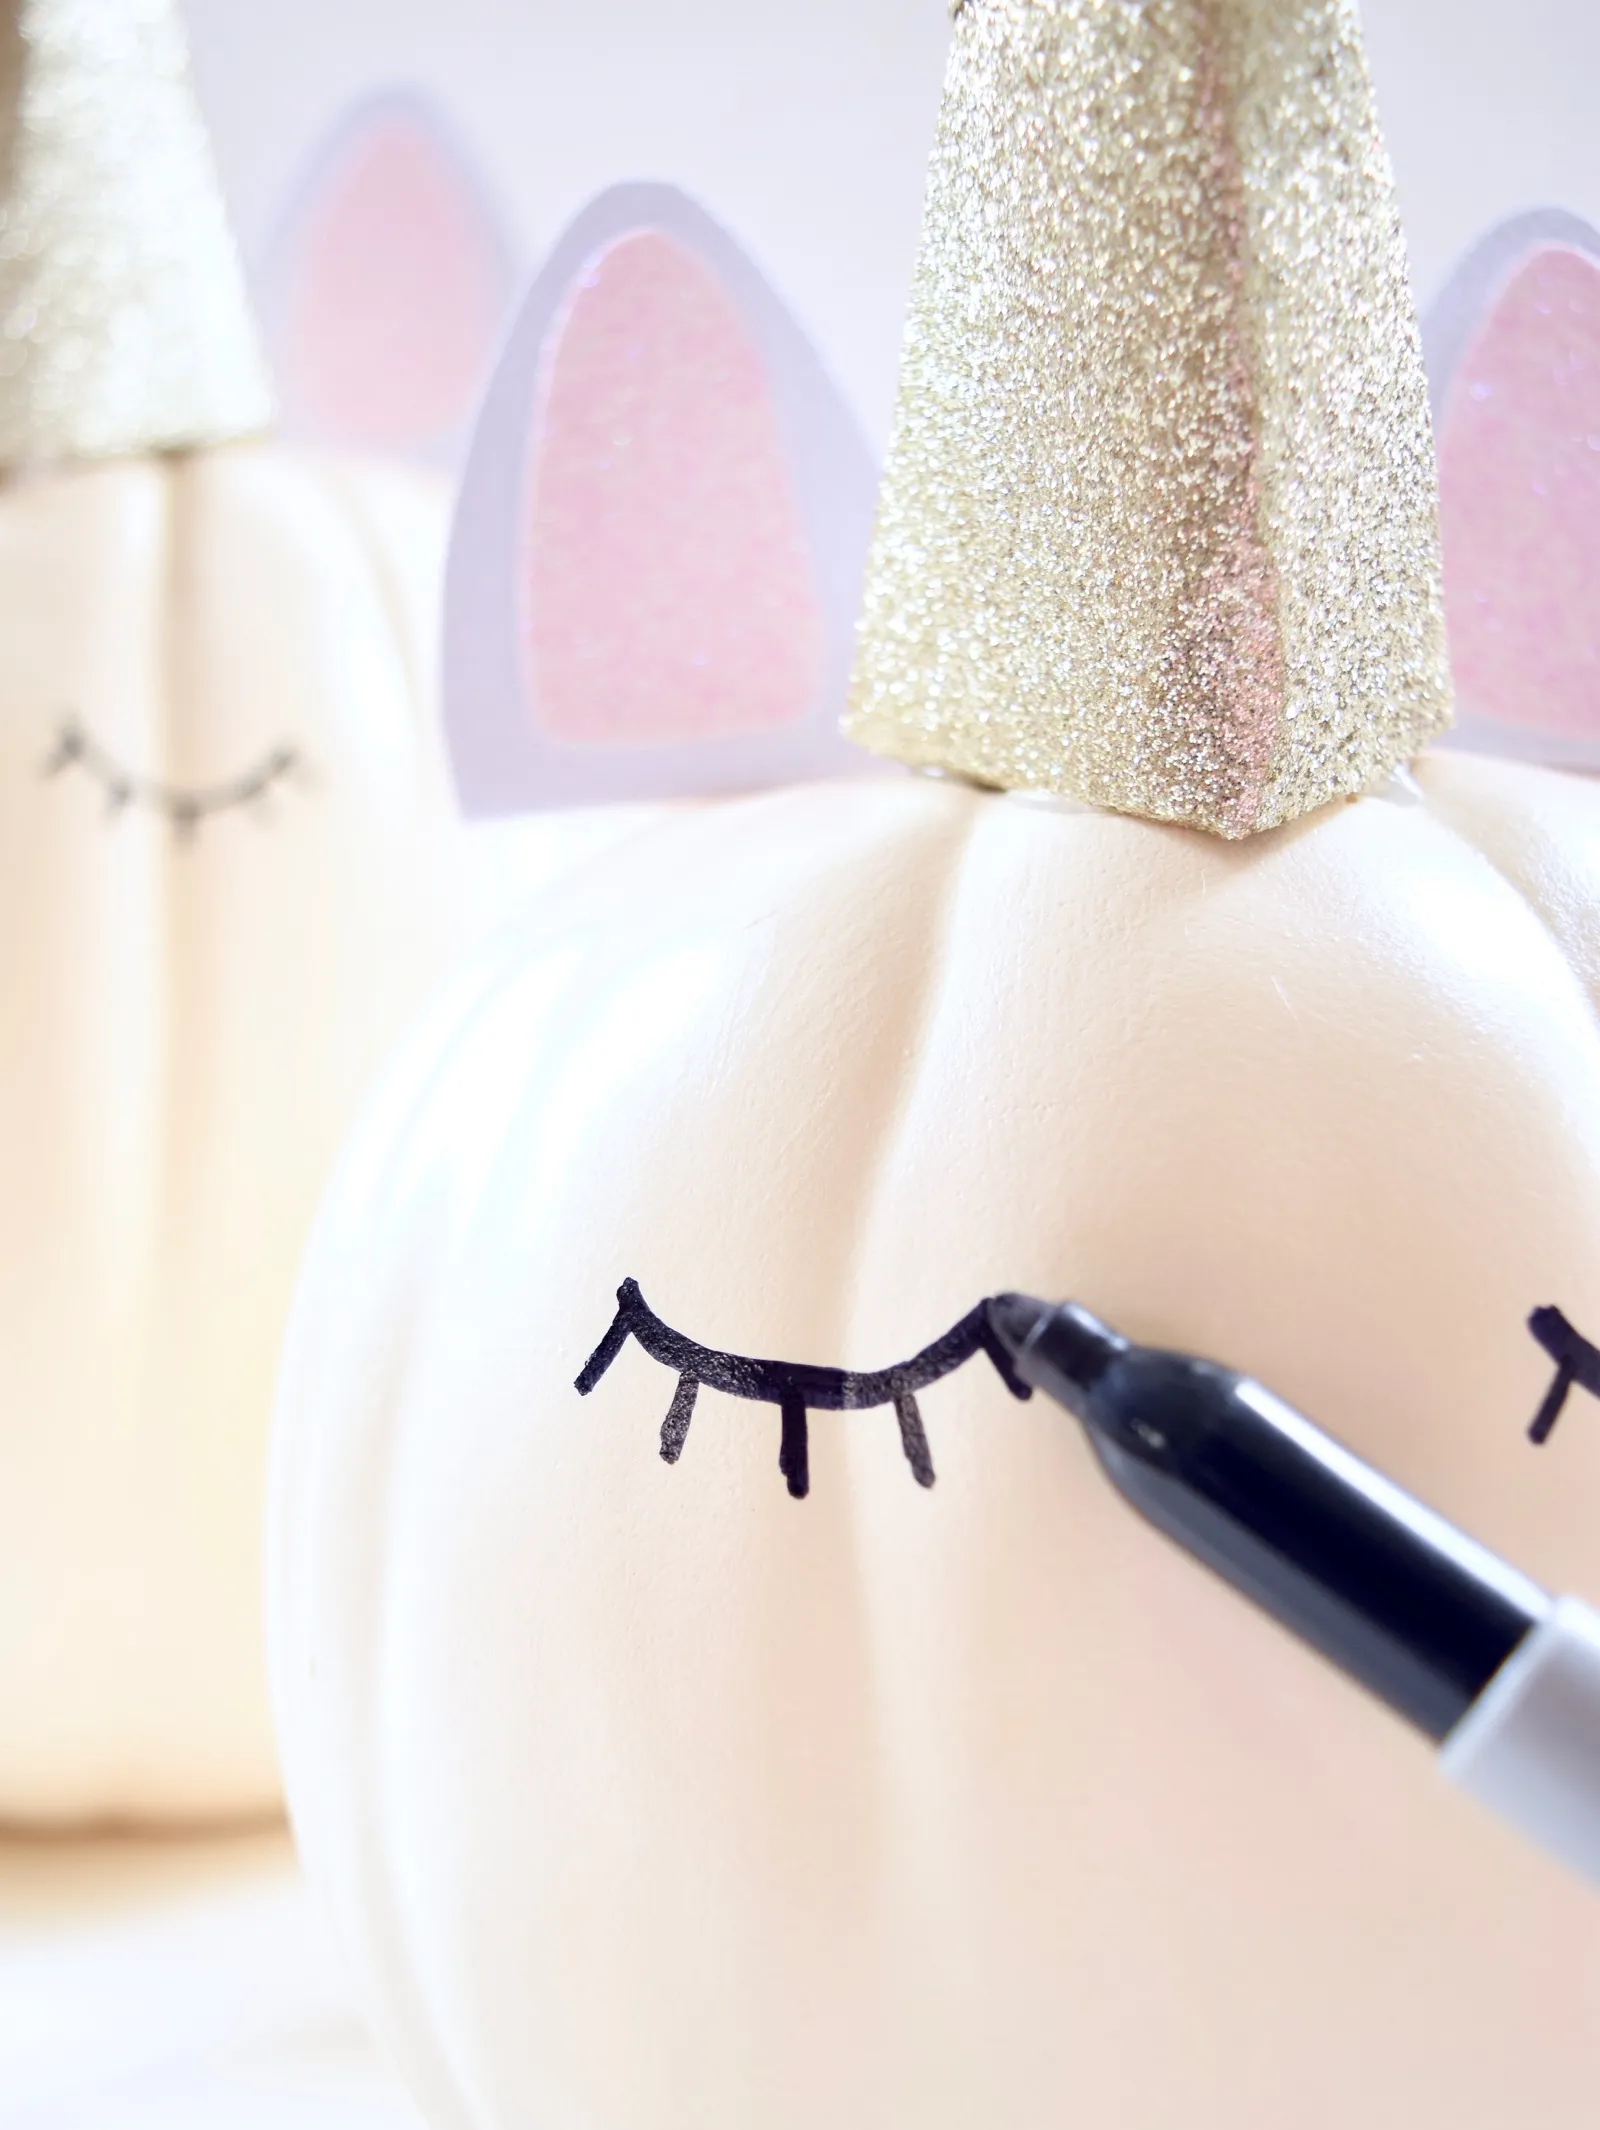
If using a real pumpkin or fake one with a long stem, carefully cut the top of the stem off (you’ll need a knife for this). Discard the stem. About 1/3 of the way from the top of the pumpkin, draw the eyes of your unicorn onto the pumpkin. This will be a half moon, U-shape with about 5 lines coming out of the bottom as eyelashes.
Step 3:
Cut your gold paper into 8×8 inch squares (you can do larger or smaller squares depending on the size of your pumpkin). Roll both square into a pointed cone & trim any excess, uneven paper at the bottom of the cone. Place glue on the bottom circumference & place onto the top of your pumpkin in the center roughly 2 inches above the eyes & below the stem.
Step 4:
Glue flowers onto your pumpkin beginning with a few in front of the cone, a few on the side of the cone, & a few behind the cone. This will be the unicorns mane.
PIN FOR LATER: