Inspired by We Wore What’s incredible collection of various choker necklaces we decided to create one ourself. Why wouldn’t we just purchase one that she owns? After a little research we discovered the price tags on them range between $60-$500. Just not something we’d pay, especially for such a trend. This DIY turned out to be even simpler than we could have ever imagined. Plus the supplies cost us less than $10 (assuming you already have scissors & a measuring tape) AND we were able to make 4 chokers out of the material. #score
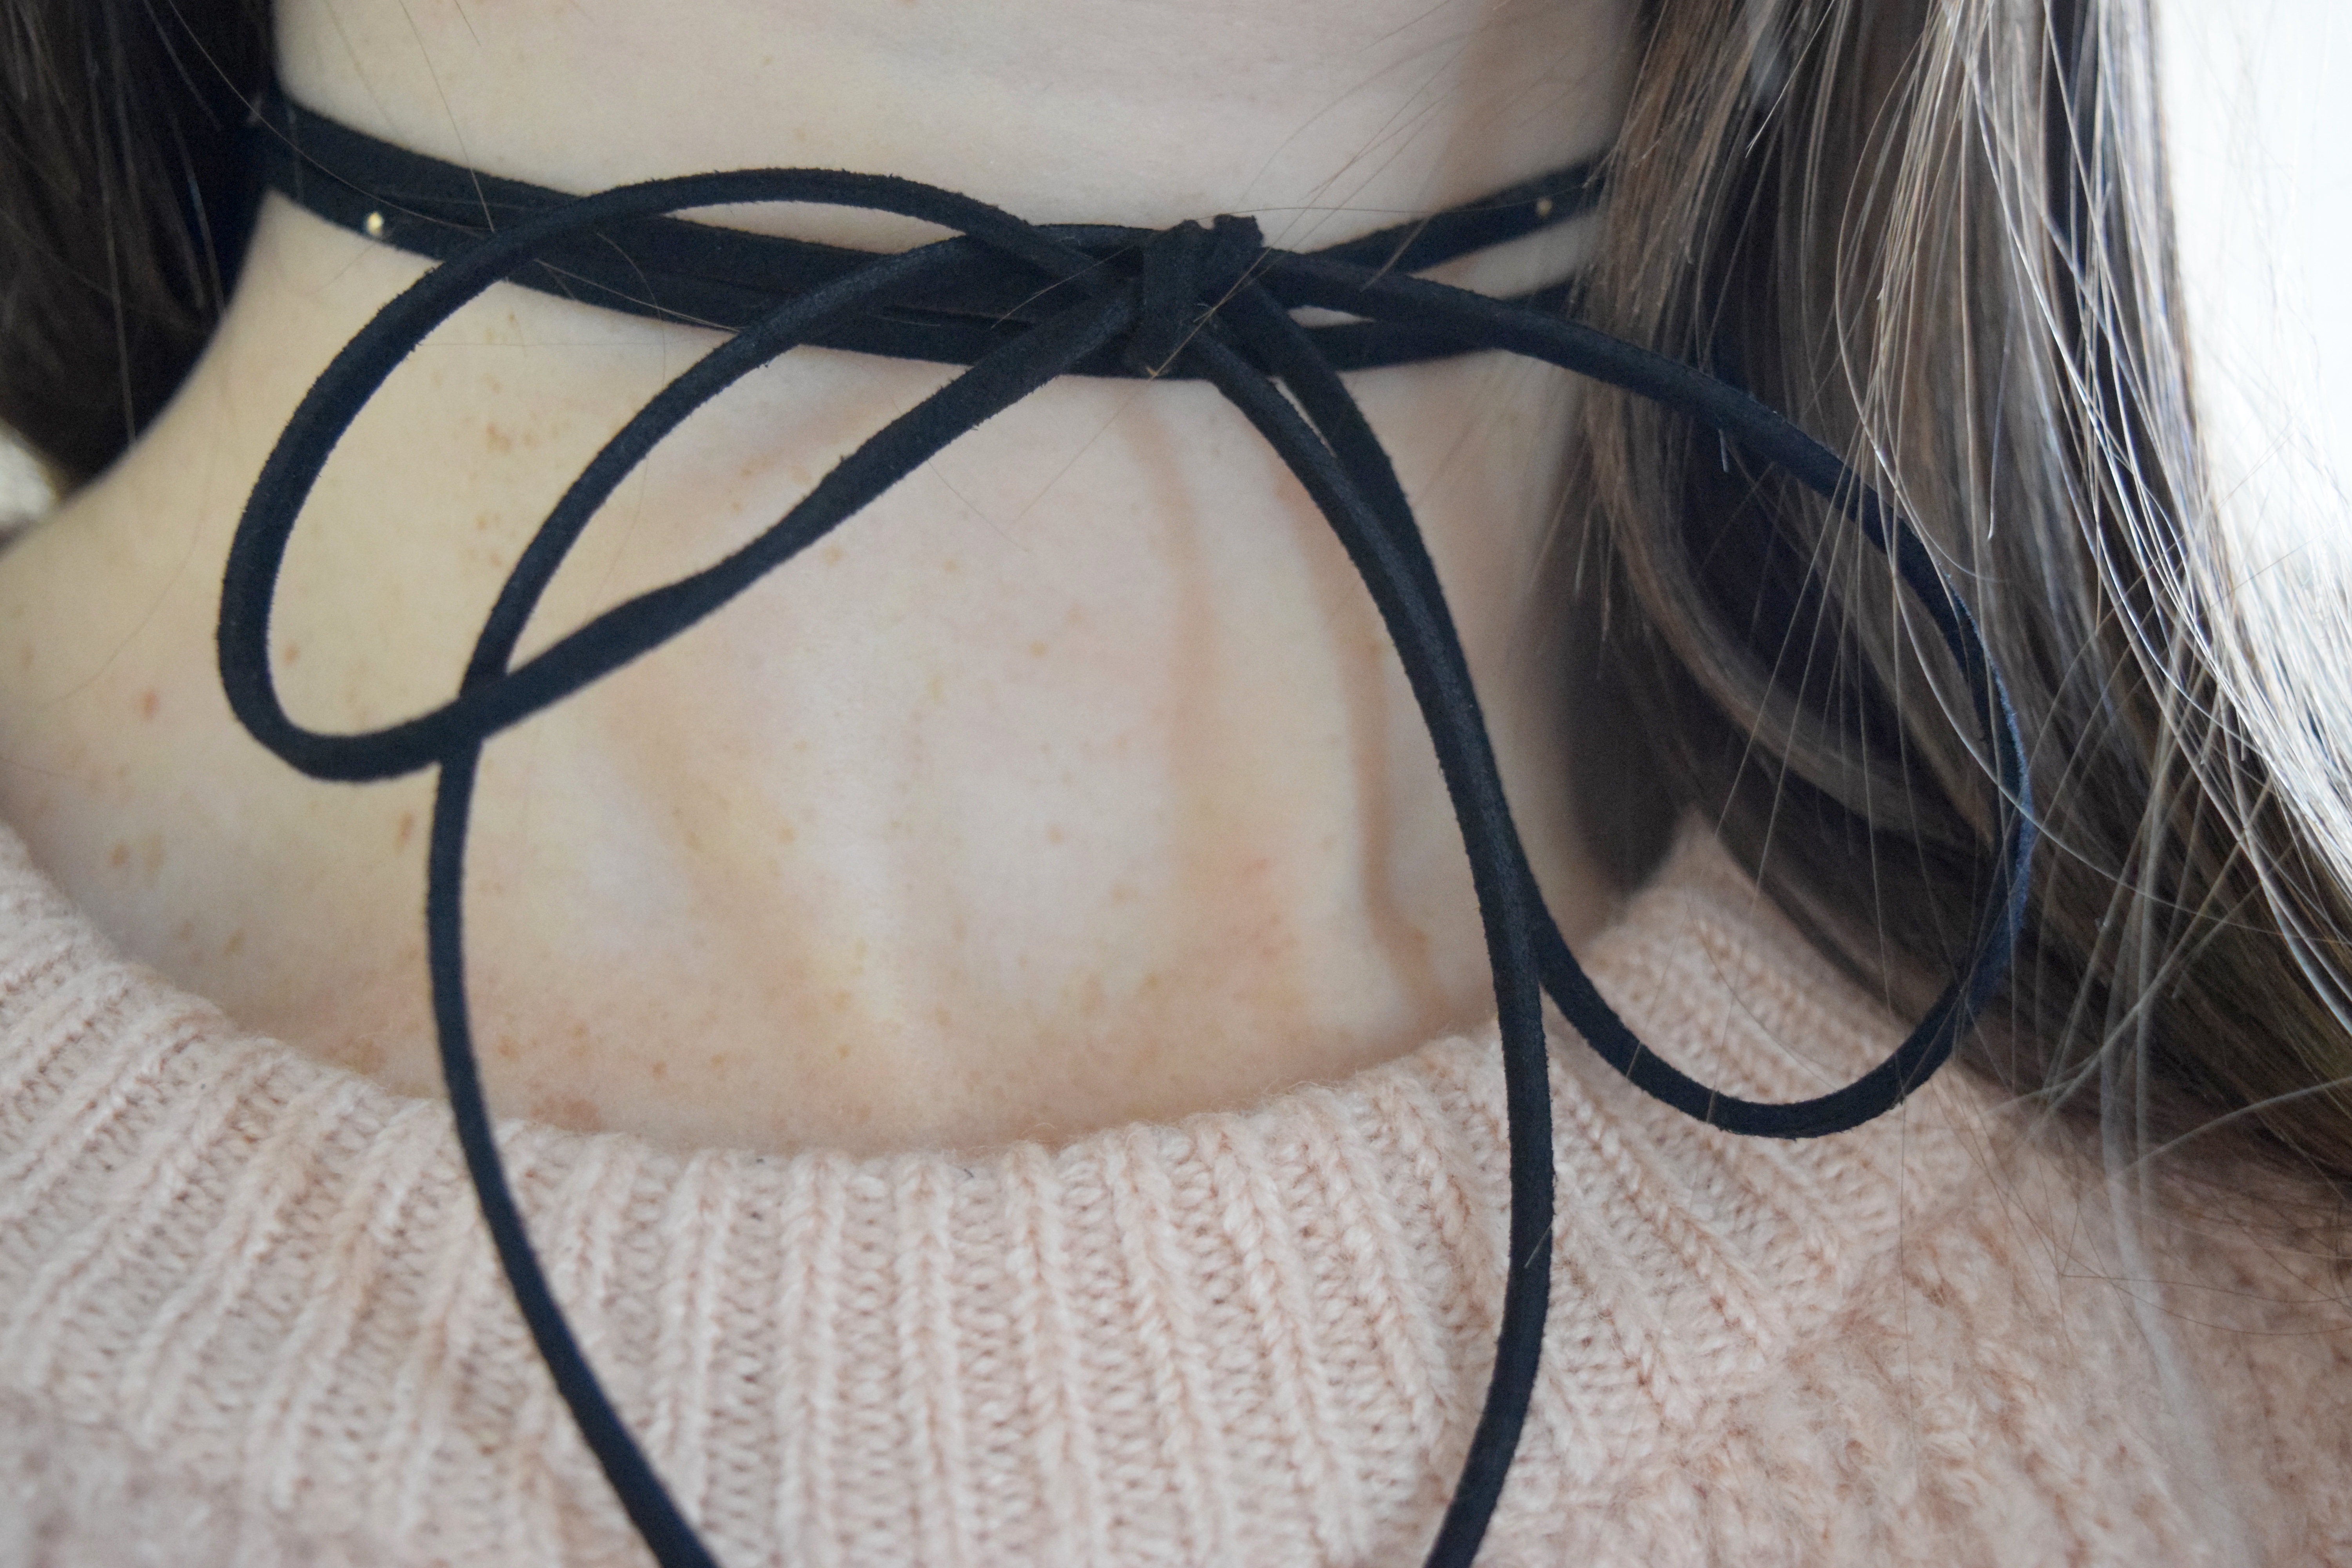
While we wanted to keep the necklace subtle, we still wanted to embellish it in some way. Of course, if you’d like, you can just wear it without any embellishment. However we chose to put 1.5mm studs in the center of a 3mm cord.

What You’ll Need: scissors | measuring tape | Krazy Glue | studs | cord (make sure it is flat)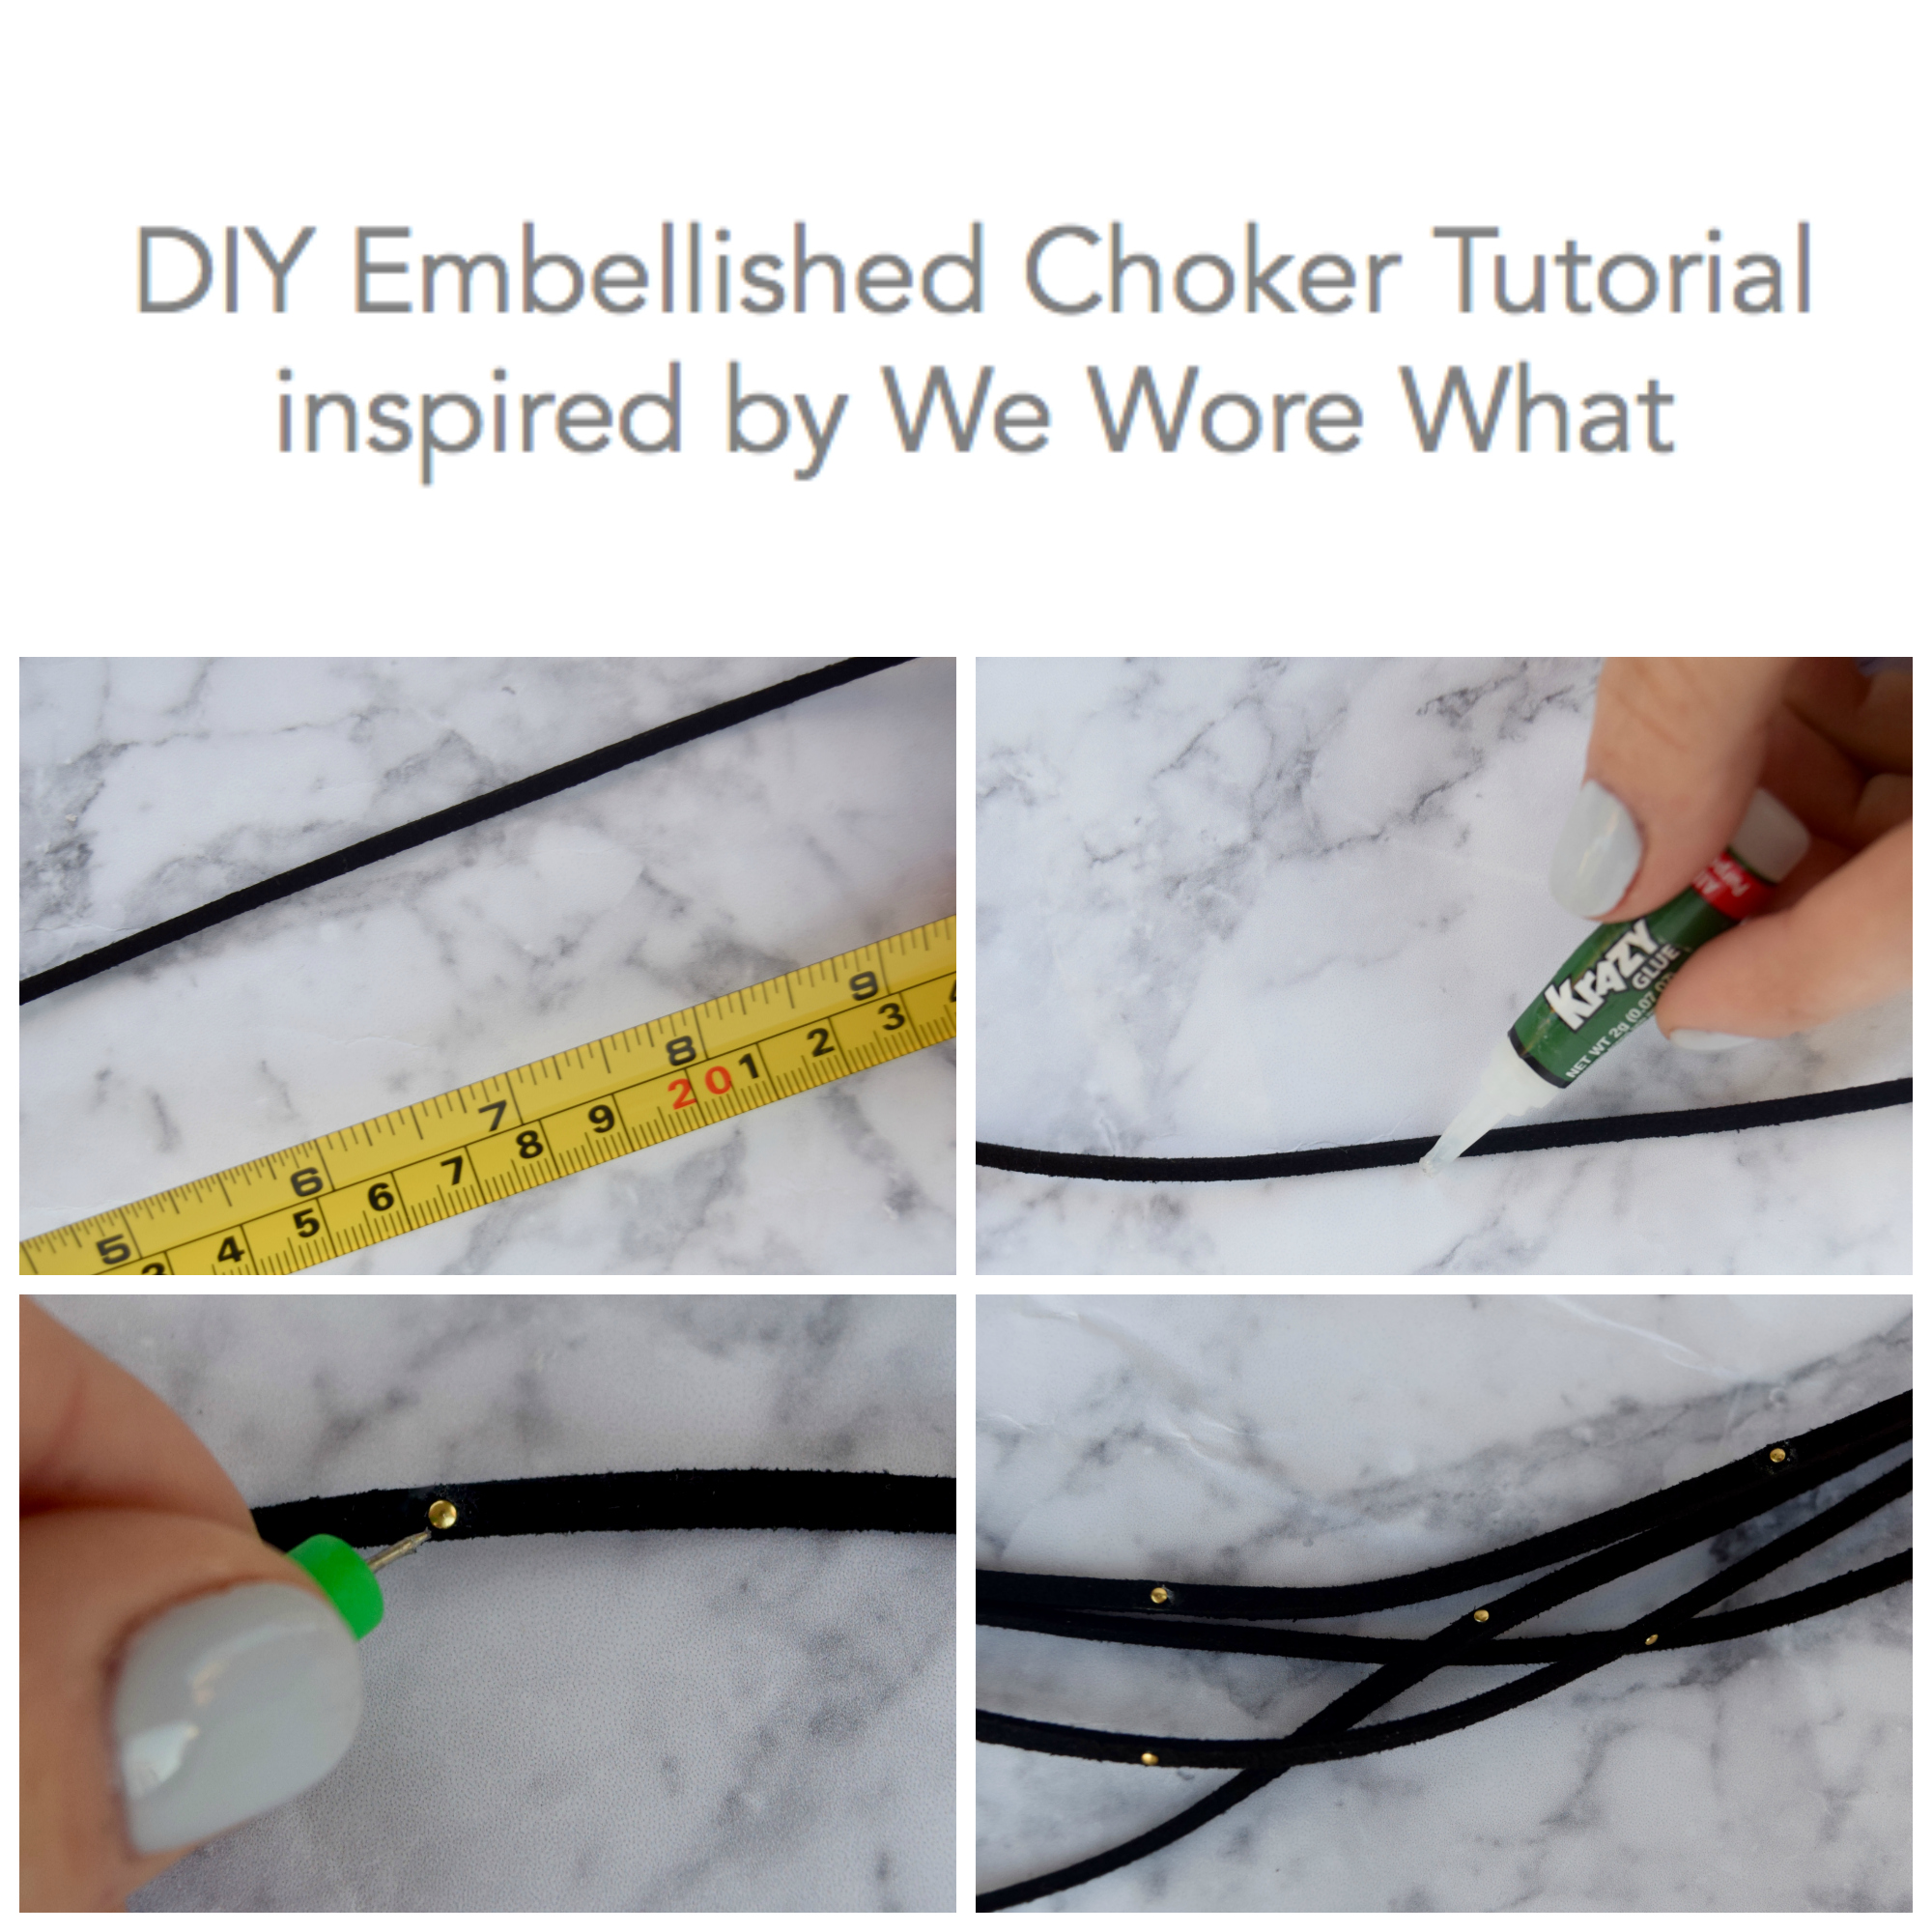
Step 1: Cut cord to 1.5 ft (roughly 56 in.). Lie cord flat on table or solid surface.
Step 2: Squeeze glue onto desired spot on cord. Immediately place stud on top of glue. Press down using the Krazy Glue metal tip (see above) to secure stud into place. Repeat every 2-3 inches or so until entire middle is covered. (I only wanted the one layer that wouldn’t include the bow to be embellished so I measured the middle half of the cord & covered that with studs.) Let dry completely.
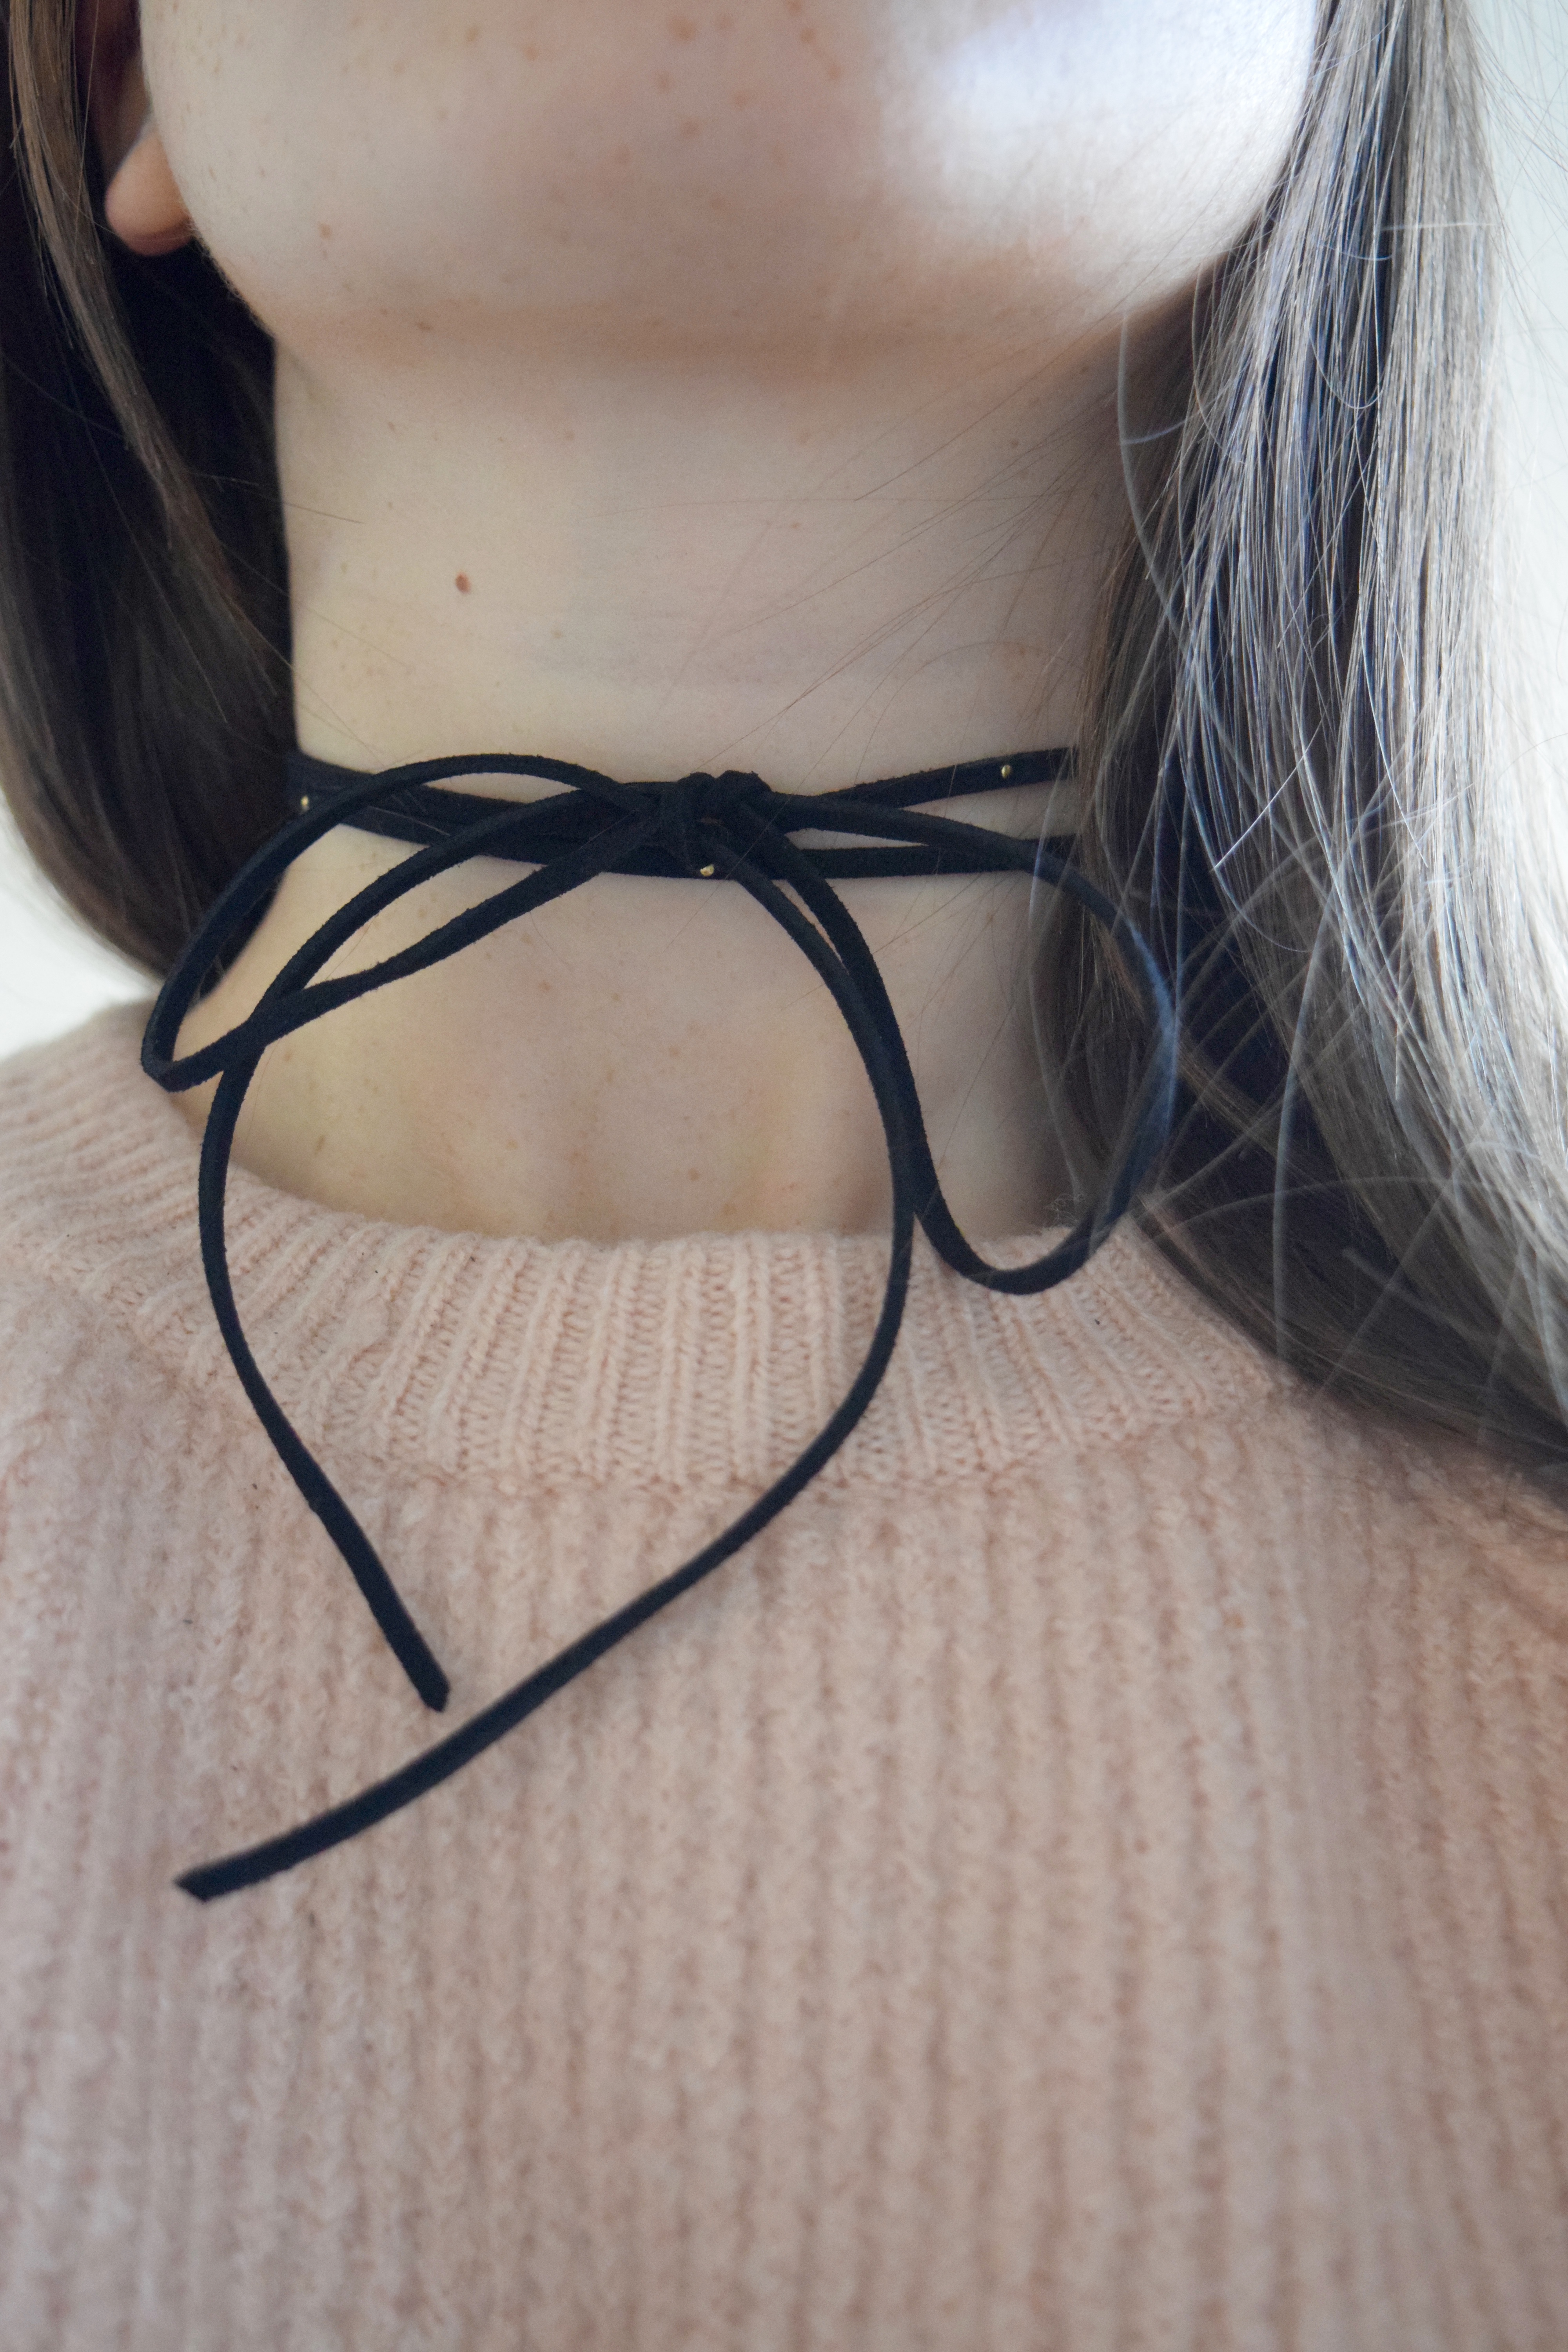
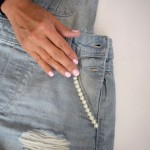
sidenote: I tied my necklace with the middle of the cord starting at the front middle of my neck, looped it around back, & tied the bow in front. Feel free to tie however you’d like.
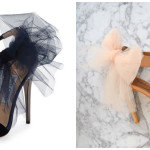
Shop The Original Necklace: our inspiration | similar | similar


This looks great. Cool DIY!
Amy Ann
Straight A Style
Thanks so much, Amy Ann!! Enjoy! xo
Absolutely love that choker babe <33
Have a great week. Xo
Lots of love,
Kayla xo // Kayla’s Vibration
Thanks so much, Kayla!! Let us know if you end up making it! xo
Such a great, easy DIY! I love that chokers are back, I had so many styles in the ’90s, I need to start wearing them again. Thanks so much for the tutorial and I hope you’re having a great day so far 🙂
XO,
Jalisa
http://www.thestylecontour.com
Thank you so much, Jalisa!! Let us know if you try the DIY! xo
This is such a cute DIY! Loving this choker 🙂
xoxo
Novelstyle
Thanks so much, Ileana!! You should definitely try making it! xo
Totally making this for my friends birthday. She’s going to love it!
Yay, we bet she will!! Enjoy! xo
This is such a cool DIY idea! Thanks for the inspiration!
http://thecourtneydiaries.com
So glad you think so, Courtney!! Enjoy! xo
Such a fun DIY and the finished product is adorable!
Heidi || Wishes & Reality
Thanks so much, Heidi!! Enjoy! xo
Love it, so trendy at the moment too!
http://www.pret-a-reporter.co.uk/
Thanks so much, Edita!! You should make it! xo